When I was planning my baby’s first birthday party, I knew I wanted something special for the decor. Store-bought banners are cute, but I wanted that personal touch that made it feel like his day and something to match his theme. So I decided to make a DIY paper banner and let me tell you, it ended up being one of my favorite parts of the whole party. It was budget-friendly, fun, and honestly way easier than I expected. If you’ve ever thought about trying a hand painted birthday banner, this is your sign to go for it!
Tools You’ll Need to Paint a Birthday Banner
This post contains affiliate links, which means I may receive a commission if you make a purchase through my links at no additional cost to you.
Before we dive into the painting part, let’s go over what you’ll need for this project:
- Brown craft paper (I used a large roll)
- Acrylic paints in bright colors
- A projector (this was a game-changer for me!)
- Tri-pod to hold projector (optional but super helpful to get it lined up just right)
- Paint brushes (a big pack makes life easier)
- Makeup Brush for smooth letters
- Pins or tape (I recommend pins if you have textured walls)
- Paint tray
You can shop everything listed above HERE!
Step 1: Designing Your Banner in Canva
The first step was opening Canva and setting the size to match the exact dimensions of my paper. That way, what I designed on screen matched what I’d be painting in real life.
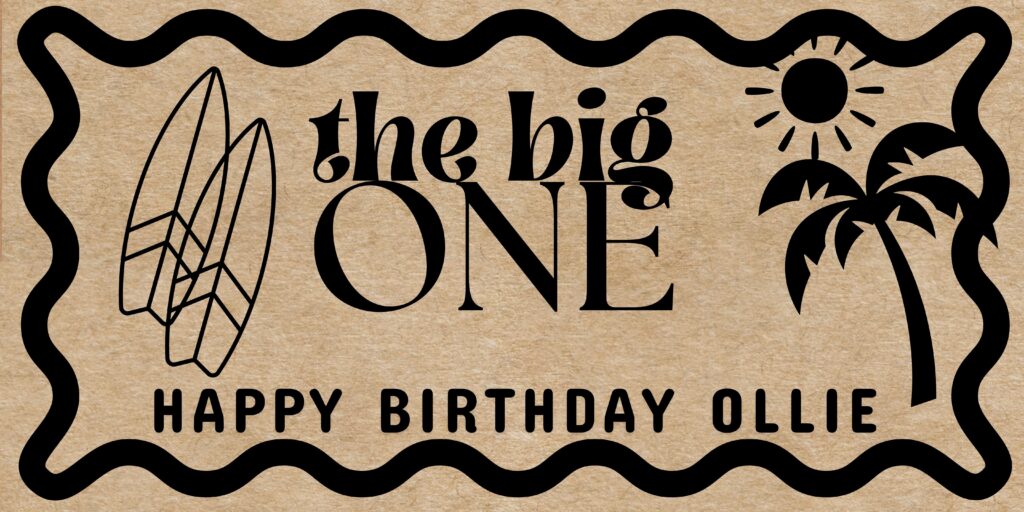
Here’s a little trick: I started with all the colors filled in on my Canva design so I could see the vibe. Then, once I liked the layout, I switched everything to black. The black makes it so much easier to see when you’re projecting it onto the paper.
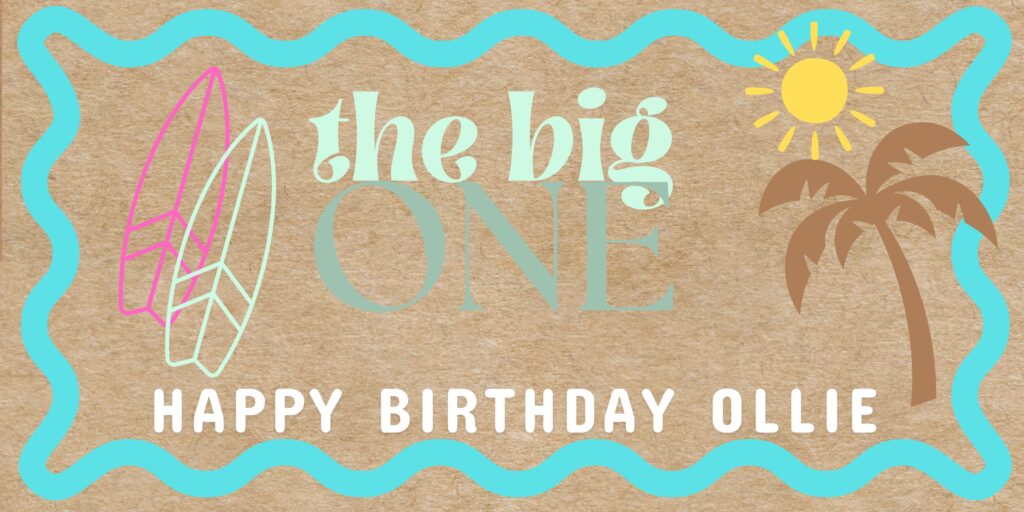
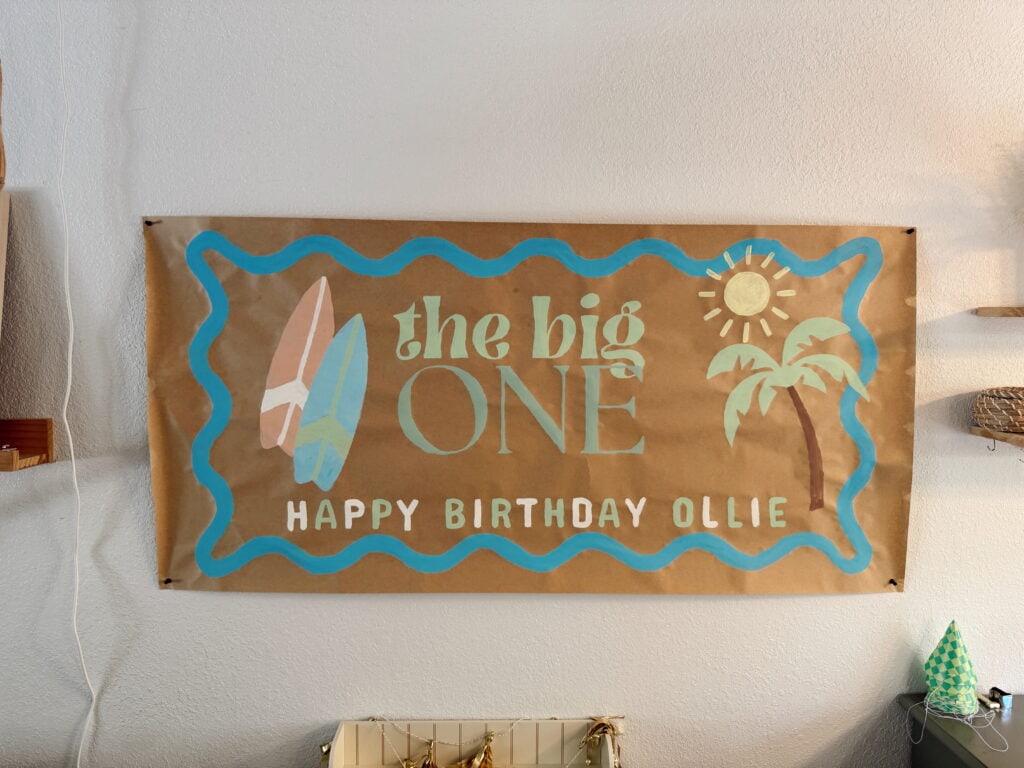
For my son’s banner, I did a “The Big One birthday banner” theme (because surfer theme, of course). Canva made it super easy to visualize before I committed with paint! Here’s a picture of what my design looked like on Canva. I used Canva pro but I’m sure you could do this with the free version too!
Step 2: Project & Paint your Birthday Banner
Okay, confession…the first time I made a paper banner, I didn’t use a projector. And wow… I will never go back. Freehanding was stressful, and it was a total disaster (sorry to my hubby lol). This time, I grabbed a mini projector on Amazon (around $40, it was on sale!) and it was a total game-changer.
When it comes to painting, here’s what worked for me:
- Start at the top and work down so you’re not smudging.
- If you’re right-handed, work left to right (if you’re a lefty, do the opposite).
- If your design has layers, paint the bottom ones first so they have time to dry before you add the details on top.
Some people like to sketch in pencil first, but honestly? I skipped that part and just went in with the paint brush. It saved me time, and it still turned out great.
Step 3: How to Paint on Paper
- Have a ton of brushes ready. I bought a huge pack so I didn’t have to keep rinsing between colors. Best decision ever. I just used regular paint brushes, but I’ve heard makeup brushes work surprisingly well too.
- Bright colors are your friend. Especially on brown craft paper, you want colors that pop in photos. Think bright pinks, greens, and blues…the more vibrant, the better.
- Skip the tape. If you’re hanging your banner on textured walls, do yourself a favor and use pins. I learned the hard way when mine fell down overnight with tape. 😅
Check out my tiktok video below for some extra tips and tricks to DIY your Birthday Banner!
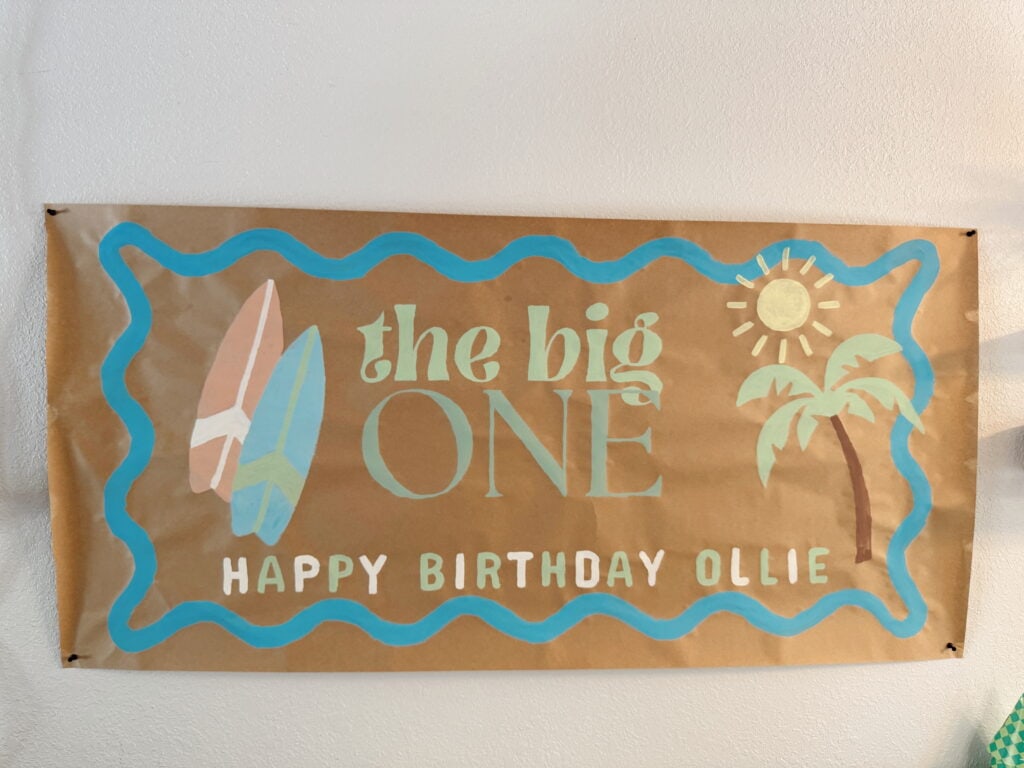
Step 4: The Finished Look
Ya’ll, I was honestly so proud of the finished product. It completely pulled the party decor together, and everyone kept asking where I got it. I loved being able to say, “Oh, I made it!” It’s such a fun way to add a personal touch to birthdays, holidays, or even seasonal decor. And now I know I can easily make more for future parties. Win win!
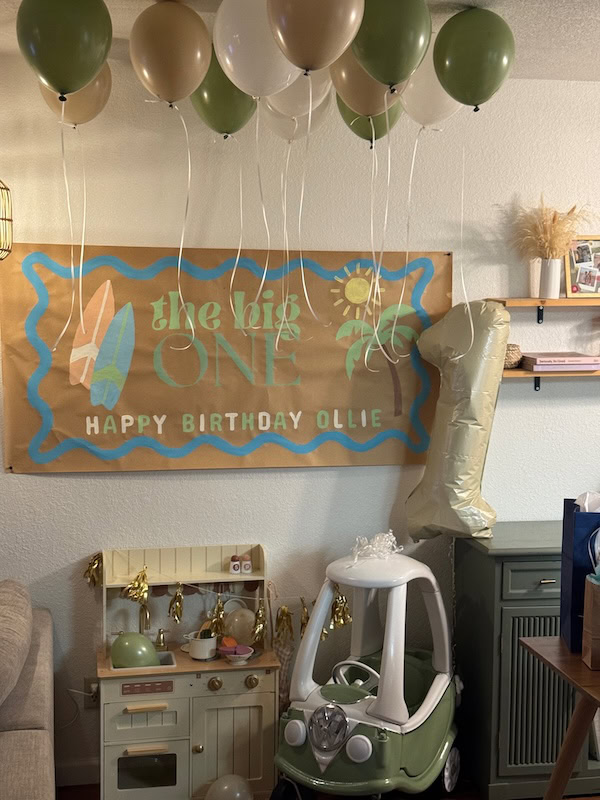
Doing a DIY paper banner might sound intimidating at first, but once you try it, you’ll realize how fun and doable it actually is. Plus, it’s so much more personal (and affordable!) than ordering a custom one online. It also made for the cutest backdrop in pictures.
I really didn’t want to deal with making an arch backdrop with balloons, I did that for my baby shower and man was it a lot of work. Cute but a lot of work. I love that I could just use this banner instead as a backdrop, throw a couple balloons around it and call it a day.
So if you’re on the fence about making your own hand painted birthday banner, I promise it’s worth it. Grab your paint, queue up your favorite playlist, and make it a little project night. You’ll be surprised at how good it feels to stand back and say, “I made that.”
You might also like: